Hip replacement surgery is one of the most reliable operations in modern orthopaedics, and most people go home within a few days of the procedure. What decides how the next three months go is not the implant — it is the house. Bathrooms, toilet heights, doorways, chair heights and the route between the bed and the kitchen all have to work for someone who cannot bend past 90 degrees, cannot twist, and must not fall.
This guide walks through the practical setup, room by room and week by week, using the precautions and timelines published by orthopaedic hospitals and national health services. Every recommendation below is drawn from that clinical guidance, not from marketing copy.
1
Your Recovery Timeline: What Happens WhenHOT
#RecoveryTimeline
Most patients leave hospital walking with a walker or crutches and are reviewed by a physiotherapist within the first weeks. The pattern published by major orthopaedic centres looks like this:
- ● Weeks 0 to 2: the surgical dressing usually stays on for 7 to 10 days. Moderate to severe swelling is expected. Walking is limited to short, supervised distances with the prescribed aid.
- ● Weeks 2 to 6: stamina improves and most people move from two crutches to one crutch or a walking stick, then to independent walking.
- ● Weeks 6 to 12: hip precautions are typically lifted somewhere in this window, and many people walk independently by about 12 weeks.
- ● Months 3 to 6: mild to moderate swelling can persist for three to six months and is not by itself a sign of failure.
Quick rule: weight-bearing orders come from your surgeon alone. Whether you may put full weight on the leg on day one or after several weeks depends on the approach and the implant, so do not let a timeline on the internet override your discharge letter.
2
Fix the Bathroom Before You Leave HospitalHOT
#BathroomSafety
The bathroom is where most early falls happen, because it combines a wet floor, a low seat and a narrow space. Clinical guidance is consistent: shower from a seated position for the first three months, and never sit at the bottom of a bath during that period.
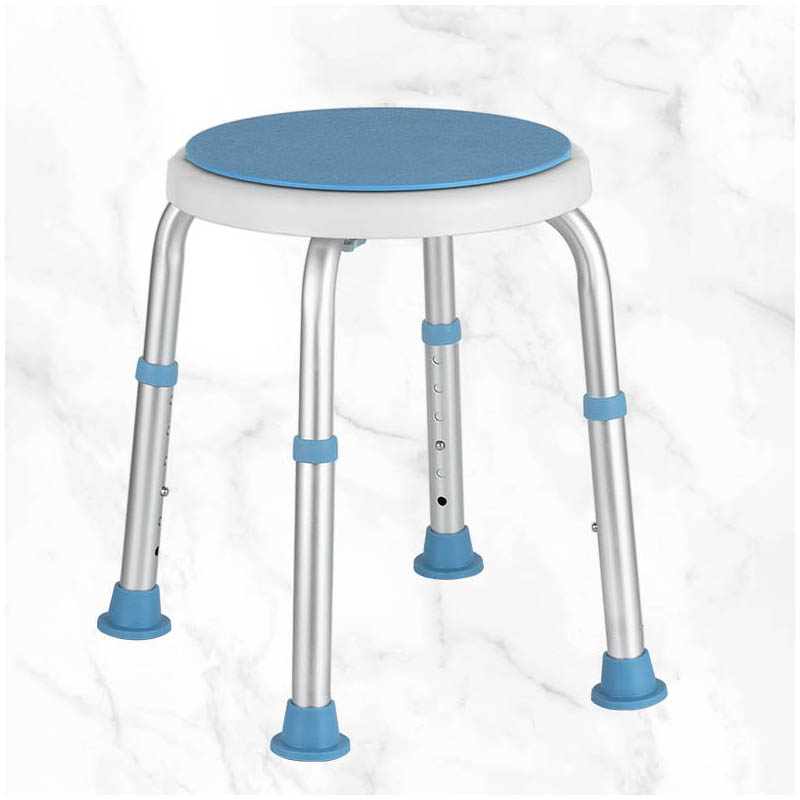
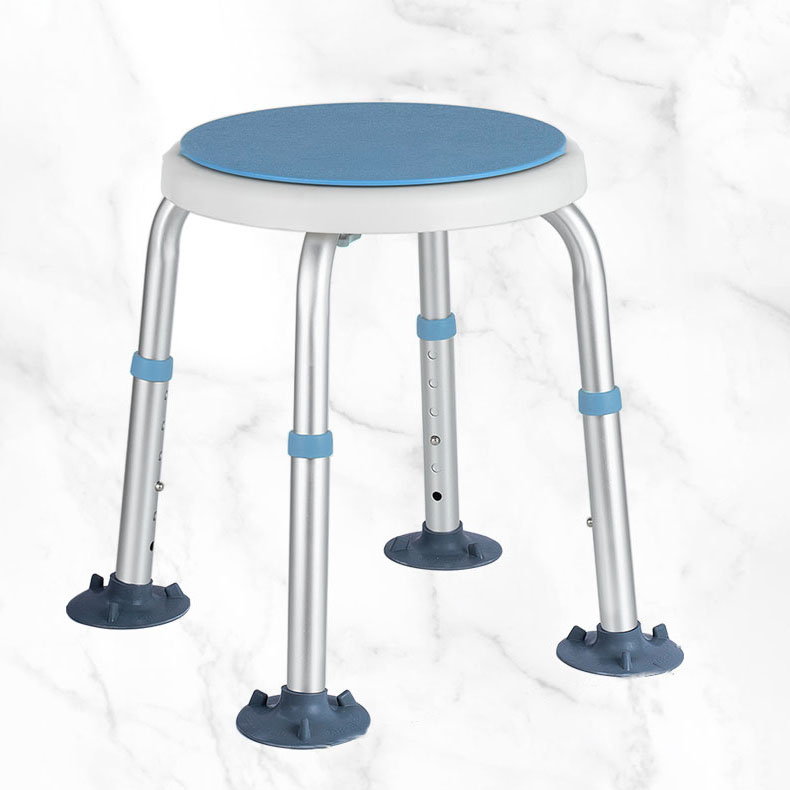
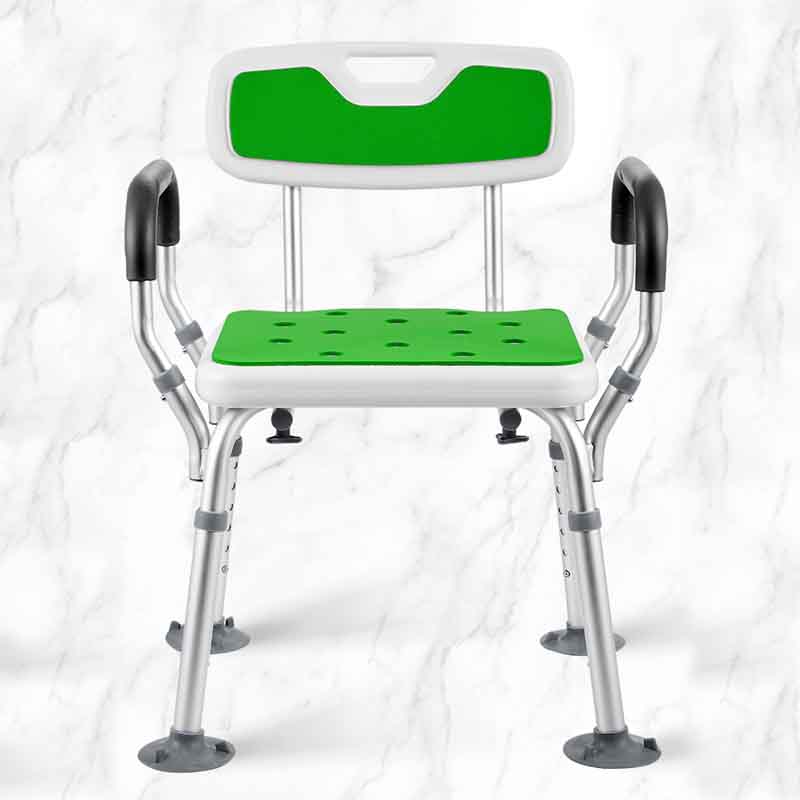
A suitable seat is the single most important purchase. Look for a stable, height-adjustable frame with rubber tips on every leg, so that the seat sits level with the backs of your knees and your hips stay above them. An Adjustable Height Shower Chair For Seniors covers that requirement, and the same aluminium frame design works as a Bathroom safety shower bench chair on a level shower floor.
- ● Non-slip mat inside the shower and a rubber-backed mat outside it — both are essential, not optional.
- ● A handheld shower head and a long-handled sponge, so you never bend to wash your feet or legs.
- ● Grab bars fixed into the wall — vertically or horizontally, never diagonally. A towel rail is not a grab bar and will pull out of the wall.
- ● Soap, shampoo and a towel within reach from a sitting position, so you do not stand up or twist to fetch them.
Have someone at home the first time you shower. It is a confidence issue as much as a safety one.
3
Raise the Toilet — and Put a Commode by the BedHOT
#RaisedToiletSeat
A standard toilet is too low for the first weeks: sitting down on it forces the hip past 90 degrees and loads the new joint in exactly the direction the precautions are designed to protect. A raised toilet seat or a toilet safety frame with arms solves it, and an occupational therapist will usually specify the height before discharge.
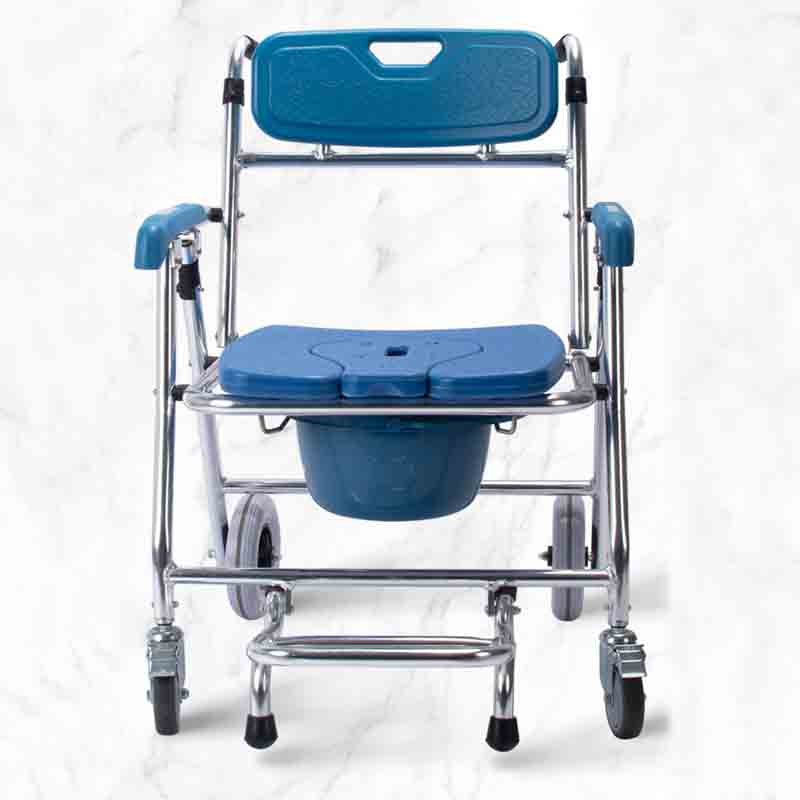
For night-time use, a freestanding chair beside the bed removes the walk to the bathroom altogether — the riskiest trip of the day. Commode Toilet Chairs for Handicapped and Seniors are designed for exactly this role, and can later serve as a raised seat over the existing toilet.
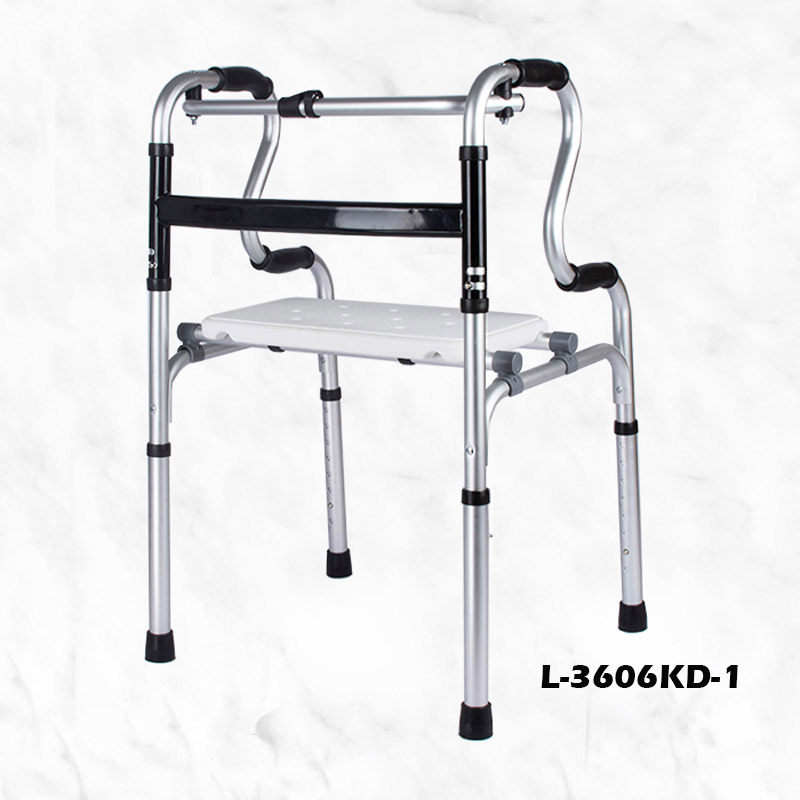
Transfer technique: back up until you feel the seat against the backs of your legs, slide the operated leg slightly forward, then lower yourself slowly using the armrests or the frame. To stand, push up with your hands and arms — never pull yourself up on a walker, which will tip forward.
Put the toilet paper, wipes and any medication within reach before you sit down. Reaching sideways is a twist, and twisting is on the do-not list.
4
Walkers, Crutches and the First Real Steps
#MobilityAids
Use the aid your physiotherapist prescribes, at the height they set, until they reassess you. Two habits matter more than the model you buy:
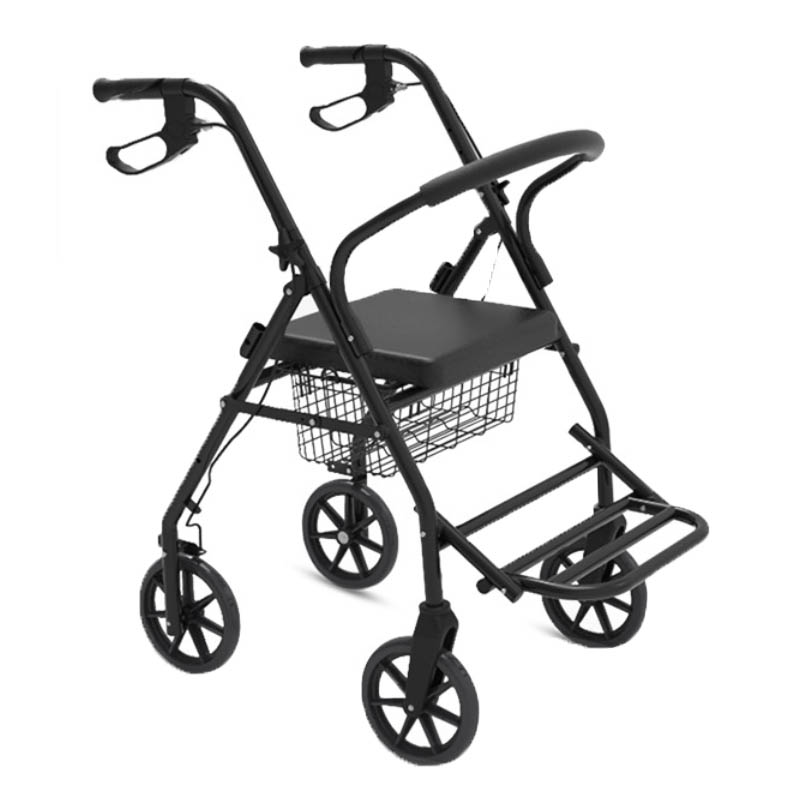
- ● Keep both hands free for balance. Carry a phone, glasses and medication in a small bag or basket clipped to the walker, not in your hands.
- ● Do not lift or carry anything while walking in the first weeks. If it does not fit in the bag, it waits.
The transfers you should rehearse — with a therapist, before you go home — are the ones people get wrong at 2 a.m.: sitting down and standing up from a chair, on and off the toilet, in and out of the shower, and up and down the stairs.
Increase walking distance gradually, a little each day, and keep doing the prescribed exercises. More walking is not a substitute for them, and pain that builds through the day is a signal to shorten the next session rather than push through.
5
Doors, Thresholds and the Stairs
#HomeAccess
A 3 cm threshold under a doorway is nothing on a normal day and an obstacle on crutches. Walk the whole route — front door, hallway, bathroom, bedroom — and mark anything that catches a walker wheel or a crutch tip.
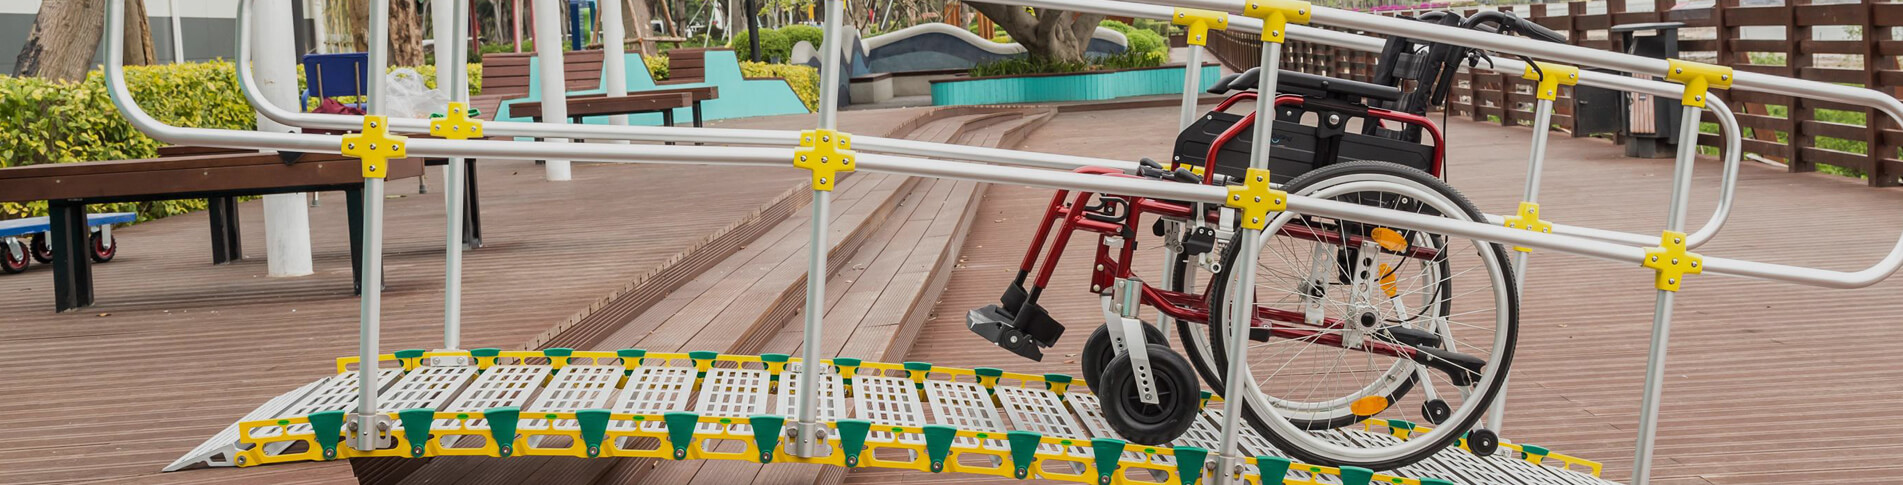
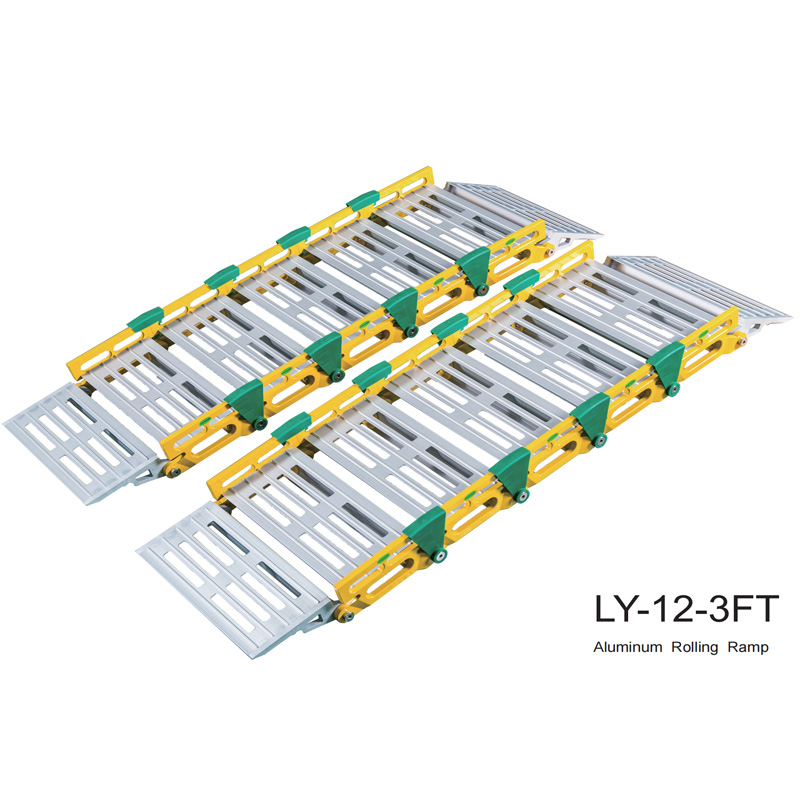
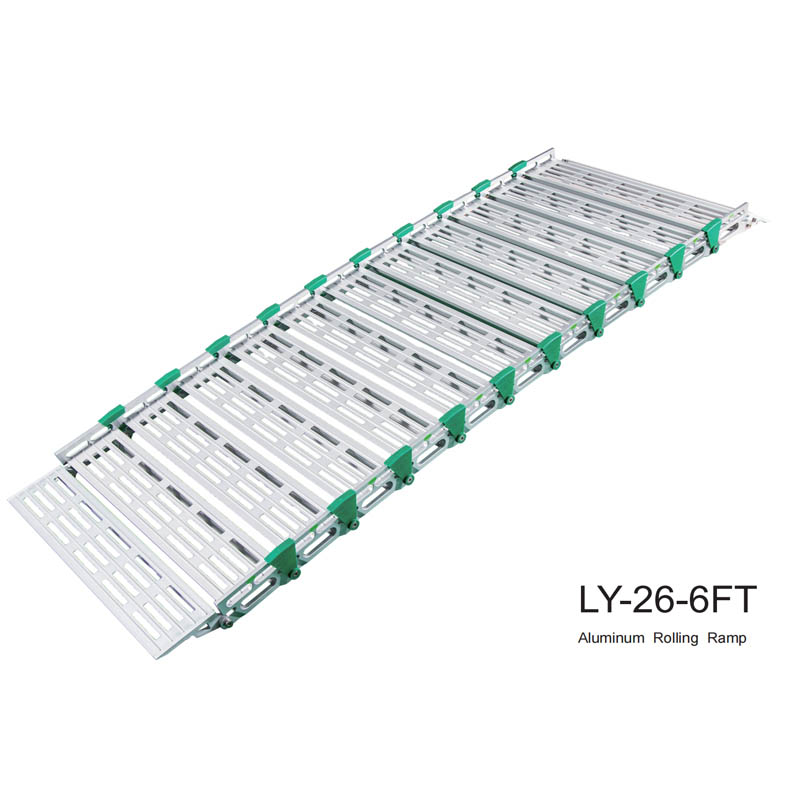
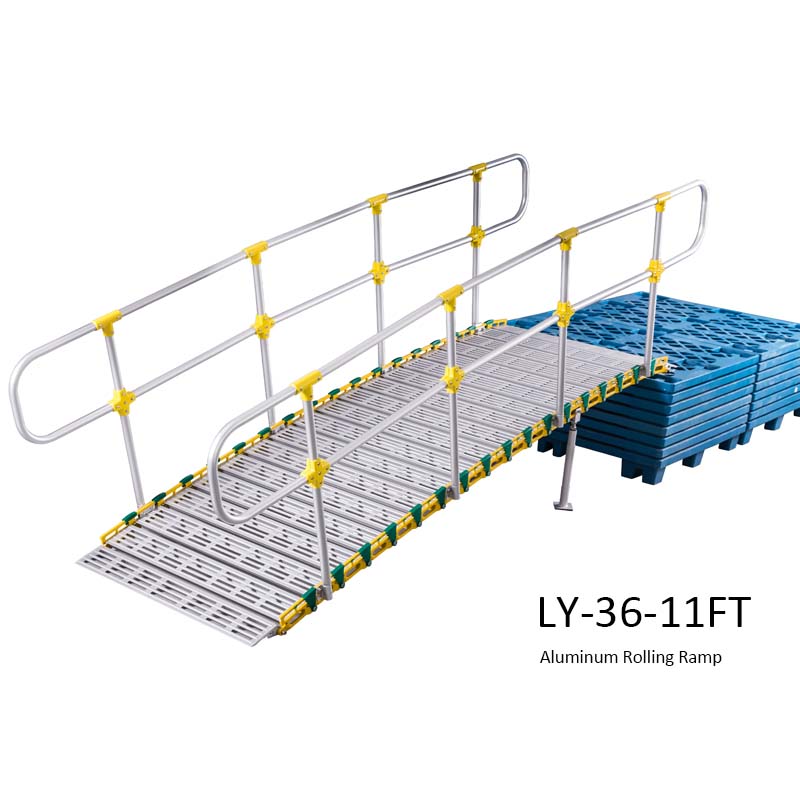
- ● Steps at the entrance: if there is more than one, a Wheelchair aluminum ramp for house lets a wheelchair, rollator or a helper with a walking frame cross safely instead of lifting it.
- ● Single steps and raised thresholds: Portable mobility aluminum ramps for accessibility can be repositioned between the door and the bathroom as needed, and removed once recovery is over.
- ● Stairs: always use the handrail. Going up, lead with the unoperated leg, then the operated leg, then the crutch. Going down, lead with the crutch, then the operated leg, then the unoperated leg. Most people return to a normal pattern at around six weeks.
- ● Early on, limit stairs to once a day — set up a single floor with everything you need rather than commuting between floors.
Fix loose rugs, trailing cords and uneven flooring on these routes before you come home. Small pets belong with a friend for the first few weeks.
6
The Bedroom and the Recovery Center
#BedroomSetup
Build one small radius of reachable objects — phone and charger, water bottle, glasses, medication, remote, reading material — and keep it there. The goal is that you never have to reach up, bend down or stand on tiptoe for anything you use daily.
- ● Bed height: with the mattress firm, your feet should touch the floor when you sit on the edge. A mattress you sink into makes standing up much harder.
- ● Chairs: firm, with arms, and high enough that your knees stay below your hips. No low soft sofas, no rocking or swivel chairs, no chairs with wheels.
- ● Sleeping position: on your back at first; avoid lying on the unoperated side for the first six weeks unless your surgeon says otherwise.
- ● Dressing aids: a reacher, a long-handled shoehorn, a sock aid and a long-handled sponge. These are not luxuries — they are what makes the 90-degree rule survivable.
If the bedroom is upstairs and the bathroom is downstairs, consider moving the bed downstairs for the first weeks. It is a temporary arrangement that removes a daily risk.
7
The 90-Degree Rule and Hip Precautions
#HipPrecautions
Hip precautions exist to stop the new joint dislocating while the soft tissues heal around it. Surgeons do not all prescribe the same set, and the duration is typically between six and twelve weeks depending on how stable the hip is — so confirm your own list, then treat it as absolute.
- ● Do not bend the operated hip past 90 degrees.
- ● Do not cross your legs.
- ● Do not twist at the hip — turn by taking small steps instead of pivoting.
- ● Avoid kneeling, and avoid squatting to pick things up; use the reacher.
- ● Dress sitting down, and dress the operated side first.
Why the furniture matters: every raised seat, higher chair and shower bench in this guide exists to keep the hip below 90 degrees without you having to think about it. Equipment removes the need for willpower.
8
Swelling, Clothing, Driving and Blood Clots
#DailyLiving
- ● Swelling: elevate the leg slightly and apply ice in the first weeks. Compression stockings may help. Mild to moderate swelling can last three to six months; new or severe swelling needs a call to your doctor because it can signal a clot.
- ● Wound care: keep the incision clean and dry and follow the dressing instructions you were given. Redness or drainage needs same-day advice.
- ● Clothing: loose trousers and secure, flat shoes. Avoid high heels and slippers that can slide off.
- ● Driving: usually around six weeks, once you can perform an emergency stop safely — and tell your insurer, because this is major surgery.
- ● Flying: often discouraged for up to three months because of clot risk. Ask your surgeon before booking.
- ● Movement: keep the circulation going with the ankle exercises you were taught and short, regular walks rather than one long outing.
Recovery also has a domestic side: batch-cook and freeze meals before surgery, stock the cupboard at waist-to-shoulder height, and arrange help for the first one to two weeks. Asking for that help in advance is cheaper than improvising it afterwards.
9
Warning Signs: When to Call the TeamHOT
#RecoveryRedFlags
Contact your surgical team promptly — not next week — if any of the following appear:
- ● A wound that becomes red, hot or starts to drain, or a fever.
- ● Calf pain, tenderness or one-sided leg swelling.
- ● Chest pain or sudden shortness of breath — treat this as an emergency.
- ● Sudden severe hip pain, a leg that looks shortened or turned out, or the inability to bear weight — possible dislocation.
- ● Numbness, tingling or weakness that is getting worse rather than better.
Write the after-hours number down before you leave hospital and keep it somewhere you can reach without bending.
★
Pre-Discharge Checklist
Have every one of these in place before the operation, not after it:
- ● Height-adjustable shower chair or bench, non-slip mat, handheld shower head, grab bars.
- ● Raised toilet seat or toilet frame, plus a commode chair beside the bed.
- ● Walker or crutches at the prescribed height, with a bag or basket attached.
- ● Threshold ramps on the entry door and any step on the daily route.
- ● Firm chair with arms, firm mattress at the right height, bedside recovery center.
- ● Reacher, sock aid, long-handled shoehorn and sponge.
- ● Rugs removed, cords secured, lighting and night lights working.
- ● Help arranged for the first one to two weeks, and the after-hours number written down.
Recovery equipment does not need to be medical-looking or permanent. Aluminium frames are light enough to move between rooms, adjustable enough to be shared by two people of different heights, and durable enough to be stored and reused after a second operation. Buy for stability first: a wide base, rubber feet, a locking mechanism, and a stated weight capacity that comfortably exceeds the user.
Where possible, buy the bathroom items before surgery and set them up in the room they will be used in. An occupational therapist can check the arrangement during a pre-admission home assessment, and small corrections made then are far easier than changes made in the first week.
Clinical guidance referenced in this guide: American Academy of Orthopaedic Surgeons, Activities After Total Hip Replacement (orthoinfo.org); Royal National Orthopaedic Hospital, A Patient's Guide to Hip Precautions; Manchester University NHS Foundation Trust, Hip Replacement: My Recovery at Home; MedlinePlus, Getting Your Home Ready — Knee or Hip Surgery; Alberta Health Services, Hip Replacement: Personal Care.
This article is general information for home preparation and does not replace the instructions of your surgeon, physiotherapist or occupational therapist.
 English
 русский
 한국의




 IPv6 network supported


